Artwork Guidelines
Proof notes: Resolving concerns with your artwork
Packlane’s prepress team checks every order's artwork carefully to ensure it will print as close to perfect as possible. If we see and raise a potential issue in the artwork on your proof, you may use our handy guide below to help resolve it. Click on the links below to learn more about resolving concerns listed on your proof.
Note: You always have the option to approve the proof without resolving the issue(s) and to print the artwork "as is," if you wish. However, Packlane cannot offer compensation if you approve a proof with unresolved concerns and the print quality comes out poorly.
3D Proof Included
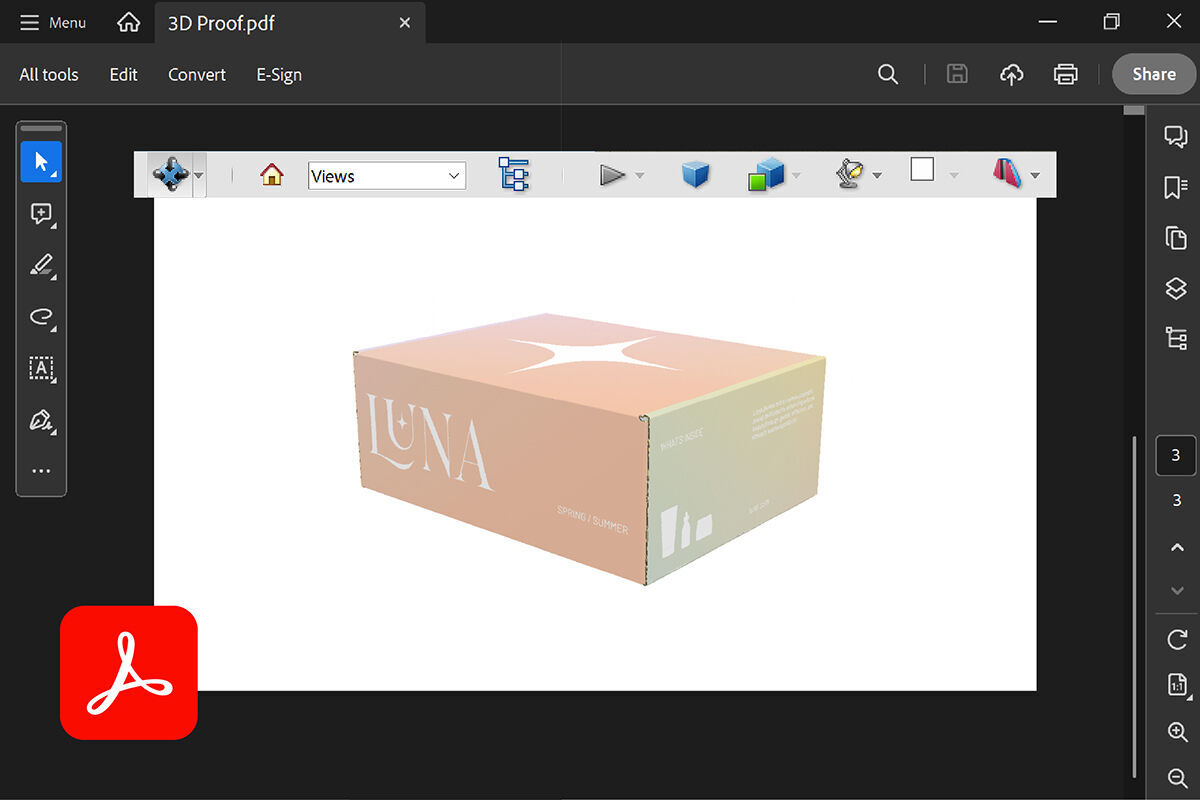
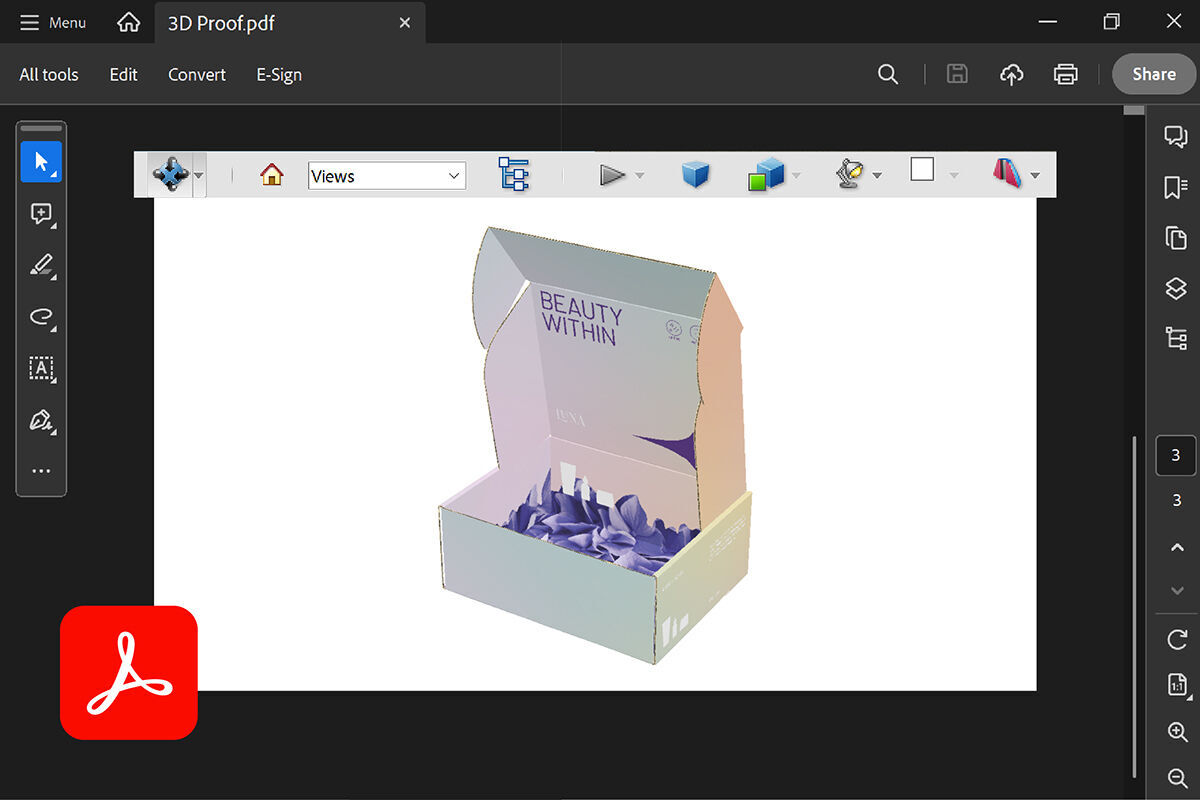
To open and interact with a 3D proof file that we send to you, please follow these steps:
- Save the file to your computer.
- Open either Adobe Acrobat Pro or Adobe Acrobat Reader.
- From within the Adobe application, click File > Open and select the 3D file you saved to your computer. Please note that double-clicking the file name to open the file may not work properly.
- When you open the file, you'll see a yellow warning about its active content. Click the dropdown on the right and select Trust this document always.
- You'll either see a white screen with what looks like an error message concerning your version of Acrobat, or you won’t see any changes in the document. Click your cursor anywhere on the screen, and the interactive view will appear.
- Click and drag to rotate the view and inspect the box design from all sides.
You may also view a screencast of this process .
Please note: We don't automatically send 3D proofs with every order, but we'd be happy to provide one upon request if it's available for your box style. If you'd like to receive a 3D mockup of your box, please submit a request to prepress@packlane.com after your order has been placed.
Crossover artwork on box seam(s)
A Crossover artwork on box seam(s) note will be indicated in your proof if there are alignment-sensitive elements crossing over box panels. This error could mean that the elements involved may not align as intended on finished boxes.
As per industry standards, the production process allows variances of up to 0.125". As such, we do not recommend splitting text or other alignment-sensitive images across the seams of shipping boxes or across split panels on other box styles. While we make every effort to ensure that your printing lines up precisely as you see it in proofing, it is likely that those areas will not align perfectly when the boxes are assembled.
To resolve a Crossover art concern, you may request that we adjust the artwork to fit on one panel or to otherwise avoid the crossover, request that we remove the artwork, or you may send us altogether new or adjusted artwork.
Digital printing on kraft material

This note will appear on your proof if you selected Digital printing on Kraft material. It means the colors in your artwork may be affected by the natural brown of Kraft paper.
The light brown color of the kraft material will always show through and influence the way colors appear in print. Printed colors won’t necessarily have the same color intensity as the online proof (darker, bolder colors are less affected).
Read this article for a more in-depth explanation of print results on kraft and to see images of actual printed boxes.
Econoflex printing

This note will appear on your proof if you ordered Econoflex Boxes. It’s meant to let you know two things:
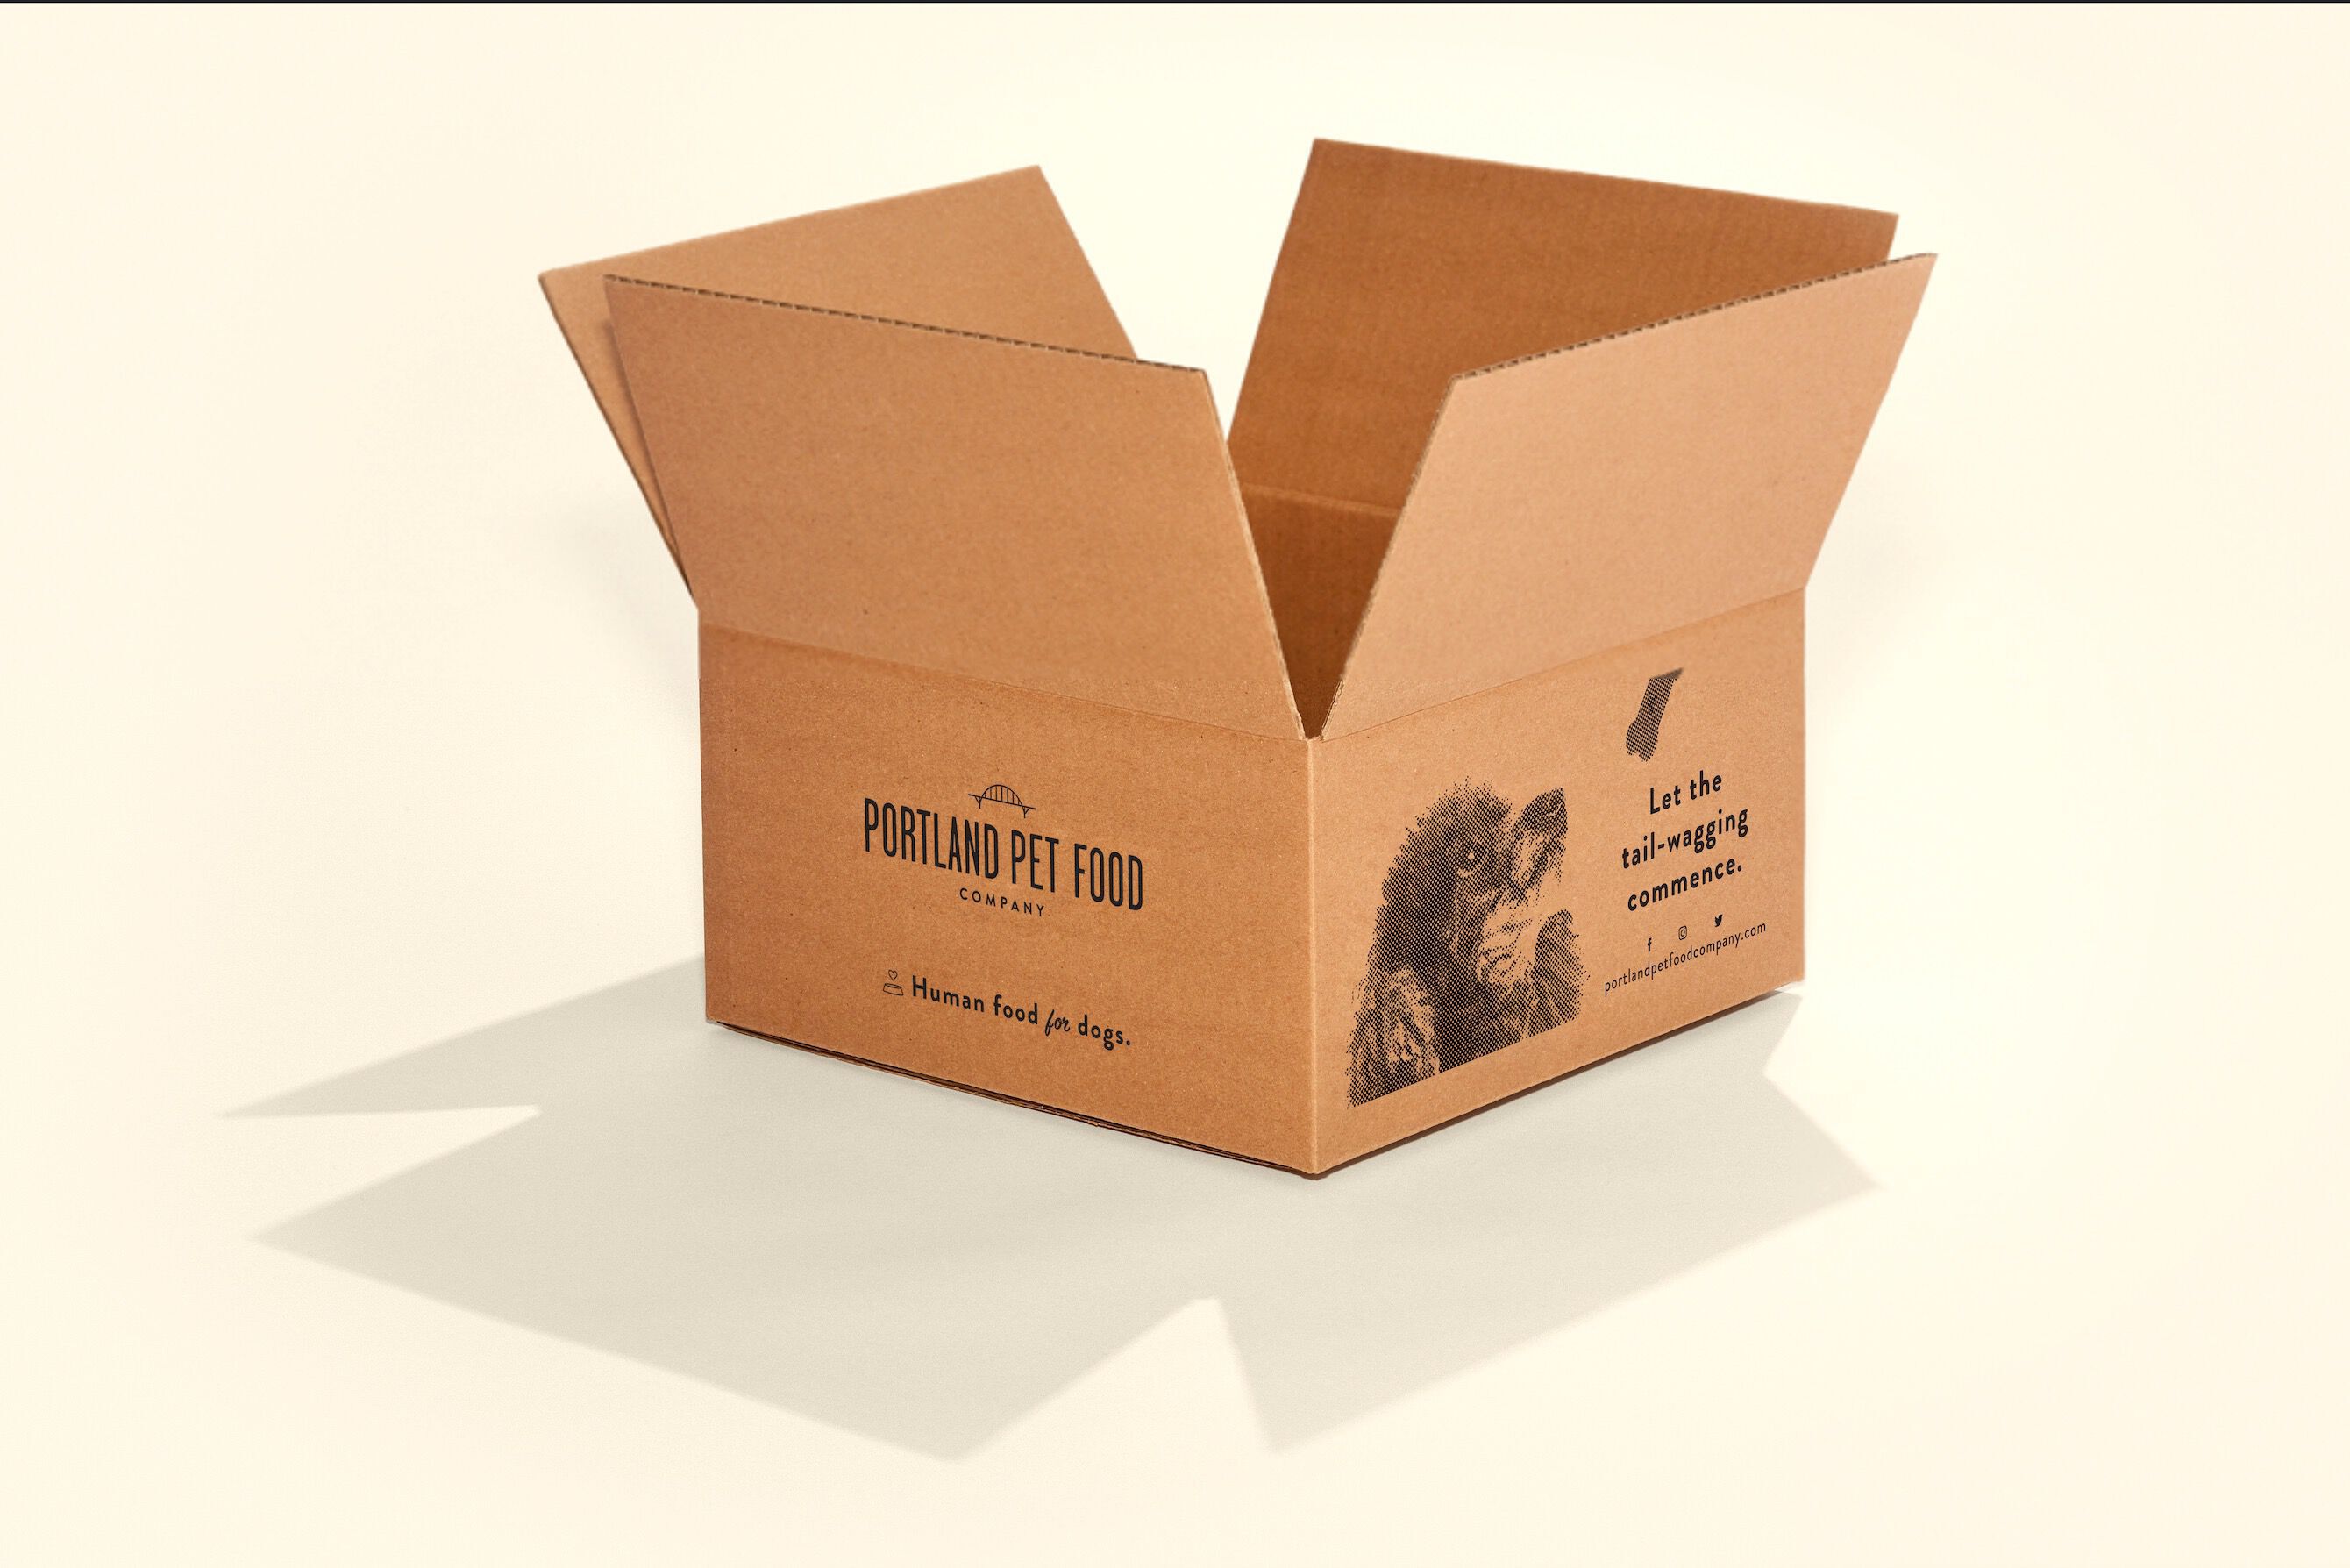
- Econoflex only prints in black ink (no gray or colored inks).
-
Your artwork was:
- converted to halftones to create the illusion of grayscale images (this may result in some loss of image detail), and/or
- converted to solid black shapes, depending on the design.
Read this article for information about best practices when designing for Econoflex.
Read more about the Econoflex product here.
Elements within 0.125” of panel edges
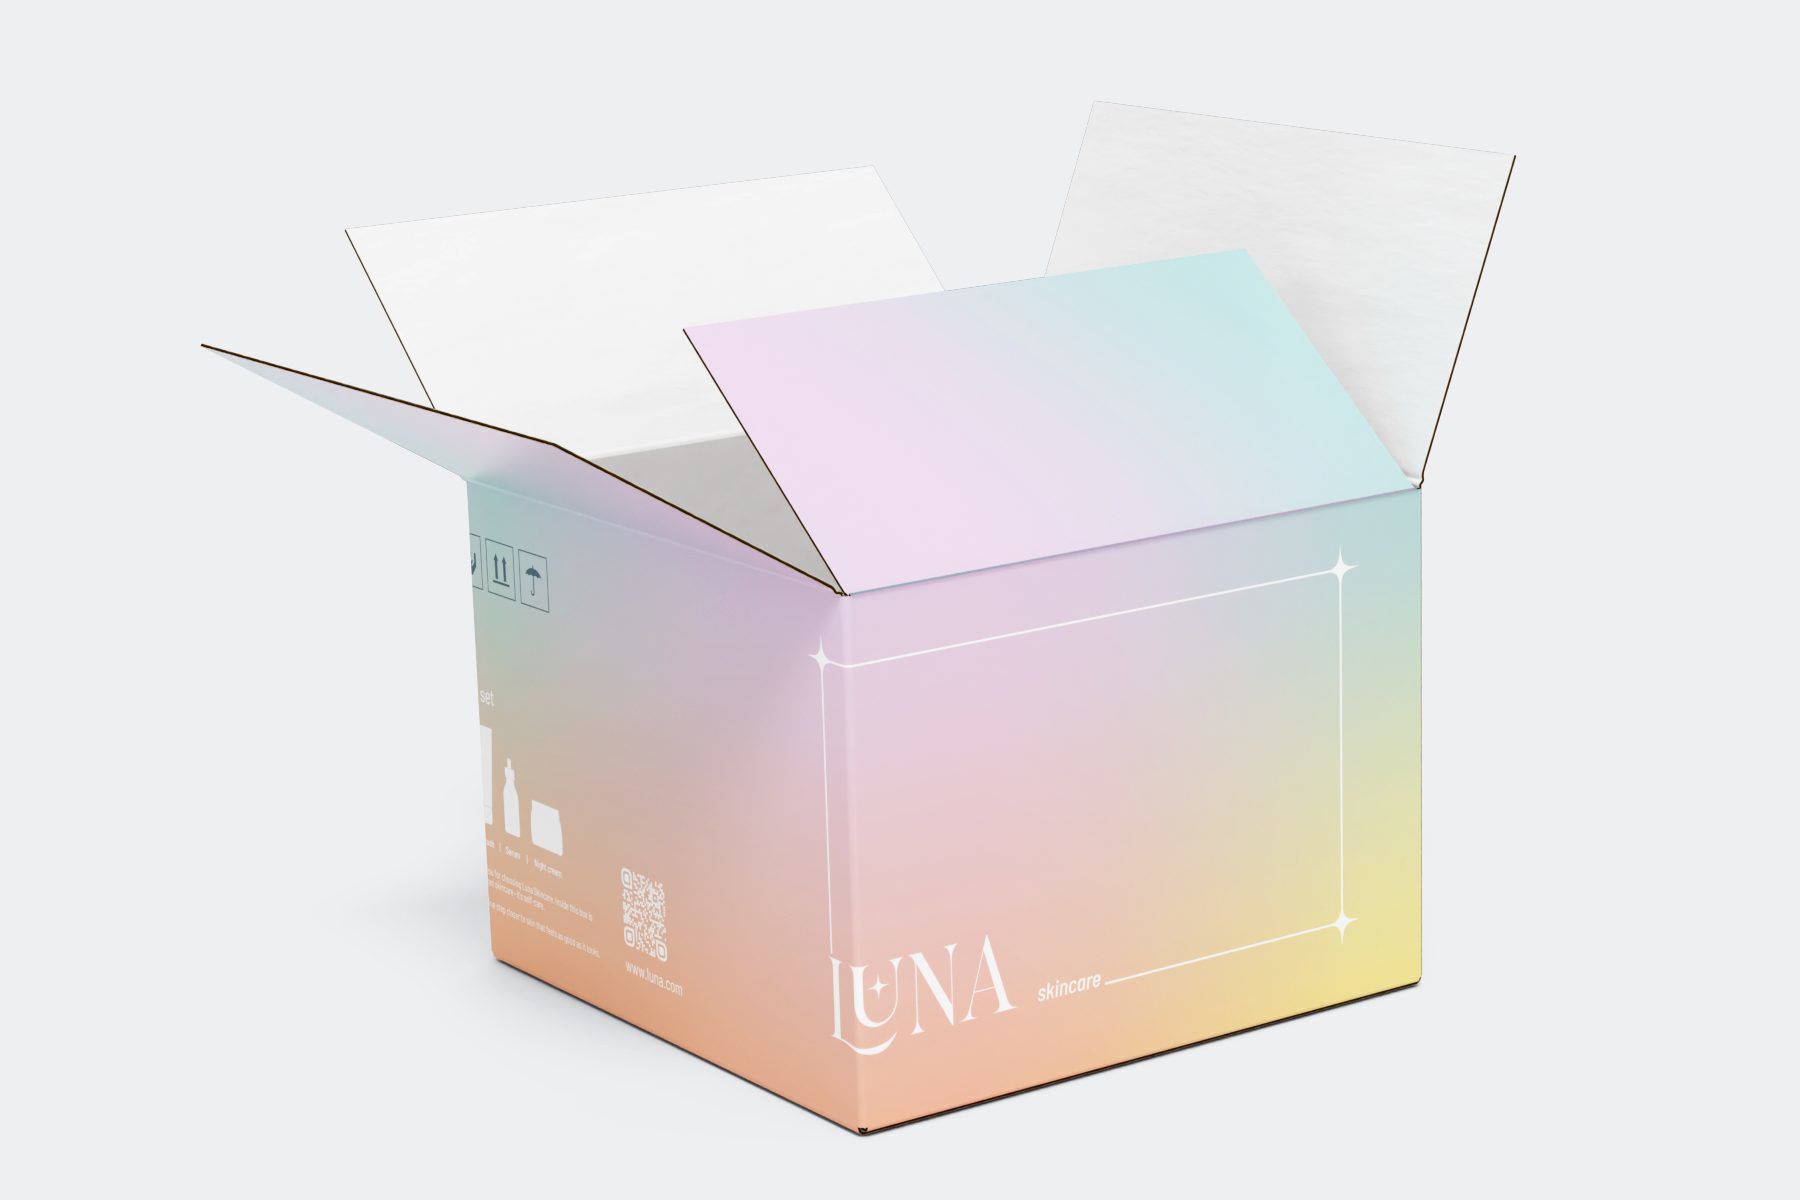
A note about Elements close to panel edges will be included on your proof if there are alignment-sensitive elements close to the edges of box panels in your artwork, as the affected artwork may appear noticeably off-center or be cut off after production.
The production process allows for variances of up to 0.125" in any direction. As such, we recommend that non-background design elements be placed more than 0.125” from the edges of box panels. While we make every effort to ensure that your printing lines up precisely as you see it in proofing, it’s likely that these areas will not be perfectly centered on the final product.
To resolve a concern with Elements close to panel edges, you may request that we move the indicated artwork (if this is possible), or you may send us new adjusted artwork.
Frame-like design/Border within 0.25” of panel edges
A note about frame-like designs or borders close to panel edges will be indicated on your proof if there are alignment-sensitive elements close to the edges of box panels in your artwork. The affected elements may cause the artwork on your boxes to appear noticeably off-center or to be cut off.
To meet industry standards, the production process allows for variances of up to 0.125" in any direction. As such, we do not recommend frame-like elements within box panels. While we make every effort to ensure that your printing lines up precisely as you see it in the center, these areas are likely to be misaligned when the boxes are assembled.
To resolve a concern with frame-like designs or borders, send us new artwork.
Interior-only print on Mailer Box

This note is to inform you that your Mailer Box is set up to print only on the interior surface. This means that when the box is assembled, the left and right panels inside the box will be blank (unprinted).
If you would like artwork to appear on these panels, you may request that we update the item to print on Both Sides and add the missing artwork. A pricing adjustment will apply.
Low contrast artwork

A note about low-contrast artwork will be indicated on your proof when there are artwork elements that are similarly colored to the background, or in some cases, when there isn't enough of a color difference between two layered elements in the artwork. In print, this could mean there is no visible difference between the two pieces of artwork.
To resolve a low-contrast artwork concern, you may request that we adjust one element to a color that is darker or lighter than the other (when possible). We can recommend color builds to increase the contrast–just ask! You may also ask us to remove the element(s) or send new artwork to resolve the concern.
Low-resolution image(s)

A note for low-resolution images will be listed on your proof if there are images with a lower resolution than the 300 ppi standard recommended for printing. Images with low resolution may not print clearly on finished boxes.
To resolve a low-resolution image concern, you may source a higher-resolution copy of the original image and send it to us, ask us to reduce the print size of the image, remove the image, or replace it with a higher-quality (or vector) alternative.
This article includes helpful information about high-quality raster images.
Read this article for guidance on vector images.
Pixelated/Blurry images
![]()
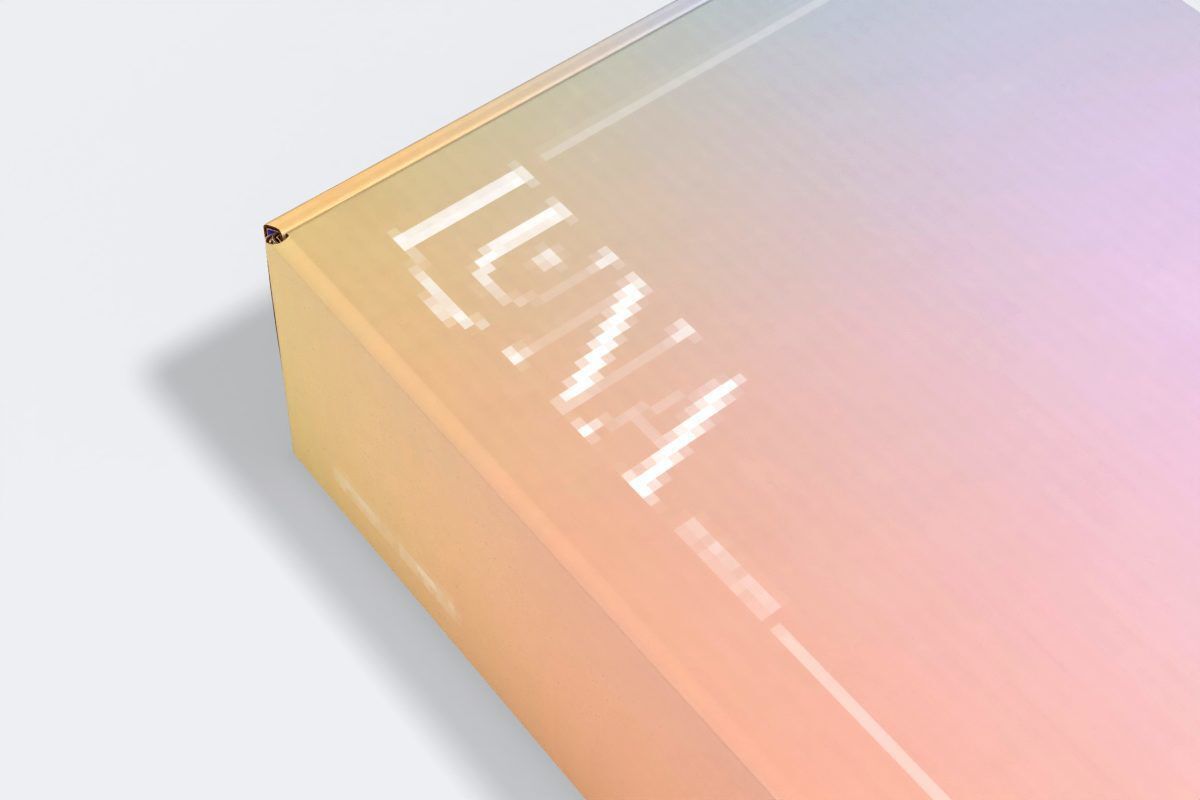
A note about Pixelated or blurry images will be included with your proof if there are any at printed size. Such images may not print clearly.
To resolve a Pixelated or blurry image concern, you may provide a higher-resolution copy of the original image and send it to us, ask us to reduce the print size of the image, remove the image, or replace it with a higher-quality alternative. The best way to check for pixelation/blurry areas in your artwork is to zoom in to 400% magnification, as this provides the best visual estimate of print quality.
This article includes helpful information about high-quality raster images.
Scannable codes on Econoflex
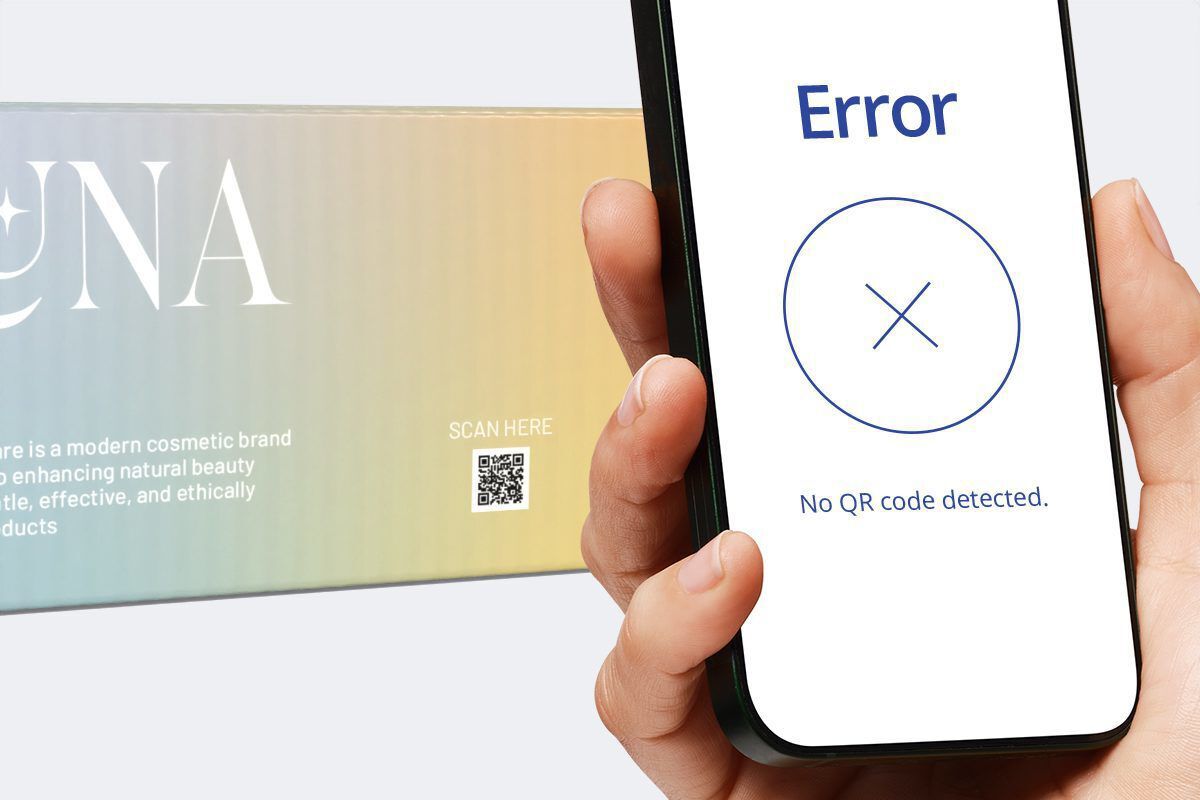
A note calling out scannable codes on Econoflex means that the artwork on your box contains a QR code, barcode, or other scannable code. Due to the print process for Econoflex, printed code(s) are unlikely to scan. As a result, including codes on Econoflex artwork is not recommended.
To resolve a scannable code issue on Econoflex, you may ask us to remove the artwork, or send us new artwork to resolve it. We highly recommend removing scannable code(s) from your artwork. If it is important that the code(s) on your artwork are scannable, we recommend applying stickers that are printed with the code(s) on your artwork must be the code(s).
Read this article for information on best practices when designing for Econoflex.
Small barcode(s)
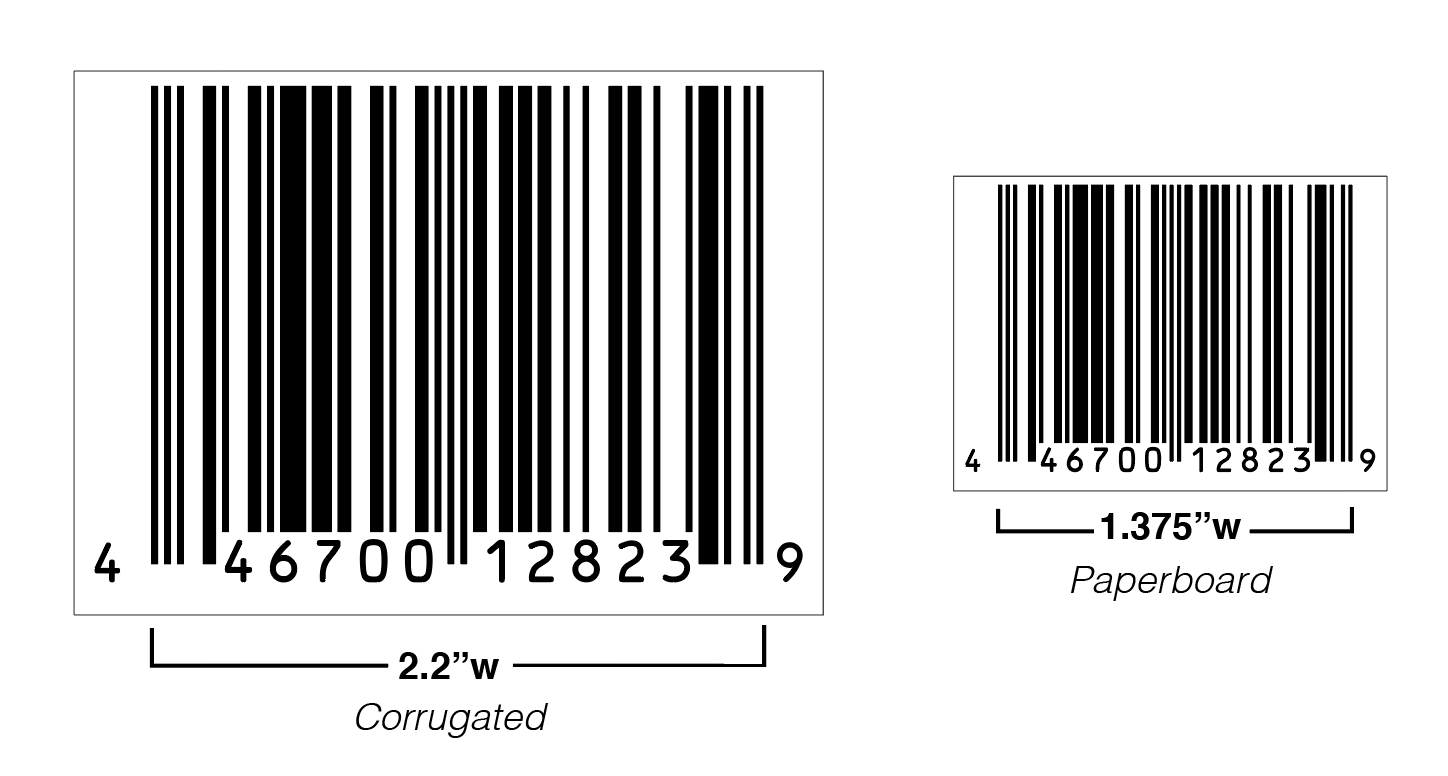
The advisory for Small Barcodes will be indicated on your proof if any barcodes are smaller than recommended for printing. This means they may not print clearly, and may not scan as a result.
To resolve a small barcode concern: you may request that we adjust the code(s) to meet our recommended minimums (this is not always possible or may require additional design adaptation), you may request that we remove the code(s), or you may send us new artwork to resolve the concern.
Our article on setting up scannable codes outlines the recommended sizes for print and explains best practices in depth.
Small QR code(s)
A concern about Small QR codes will be indicated on your proof if there are QR codes that are smaller than recommended for printing. This means they may not print clearly, failing to scan as a result.
To resolve concerns with Small QR Codes: you may request that we adjust the code(s) to meet our recommended minimums (this is not always possible or may require additional design adaptation), you may request that we remove the code(s), or you may send us new artwork to resolve the concern.
Our article on setting up scannable codes shows the recommended sizes of codes for print and explains best practices in depth.
Small text
A note describing Small text concerns will be included on your proof if there are fonts smaller than recommended for print — 10pt for corrugated boxes and 6pt for cardstock boxes and other products. Text smaller than this may not be legible when printed.
To resolve a Small text concern, you may request that we adjust the text to meet recommended minimums (if possible). Alternatively, you may ask us to remove the text (if possible), or send new artwork to resolve the concern.
Read this article for information on recommended font sizes for printing.
Spelling error

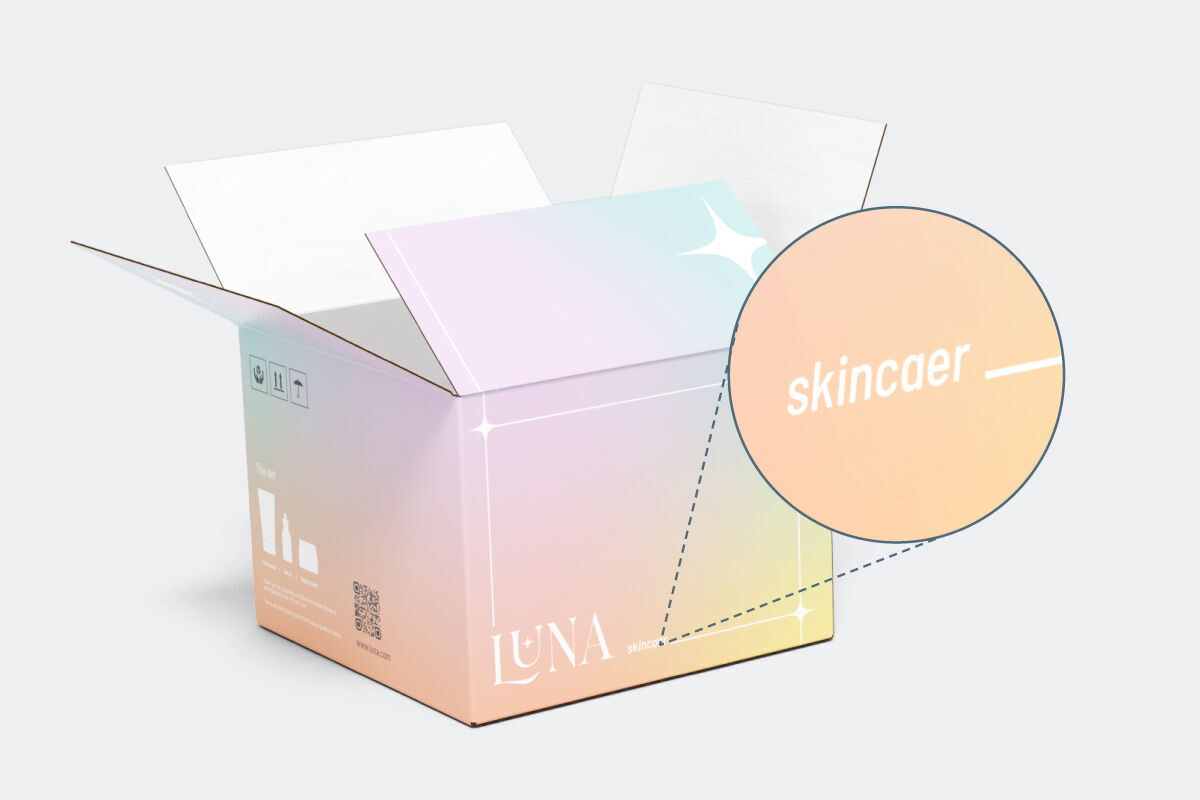
While we do not proofread your design, we’ll let you know if we notice a potential error – like any good friend would do! The callout for a Spelling error will be indicated on your proof if we find one or more potential spelling errors in your artwork.
To resolve a Spelling error in a proof note, you may request that we adjust the spelling (if possible), remove the text (if possible), or send us new artwork to resolve the concern.
Swapped front and back panels

A Swapped front and back panels note will be included with your proof if the elements in your design are not set up in the standard way for the ordered box style.
We recommend reviewing our Box Model templates (miniature versions of our boxes to reference for orientation and layout). You can print one out, assemble it, and decide whether the artwork placement is how you'd like it on your order. The 3D preview of your box in our online 3D Design Tool is another helpful way to visualize how the artwork will appear on your boxes.
To resolve a concern with the front and back panels being swapped, you may request that we correct the artwork placement, or you may adjust the artwork yourself and resend it to us.
Thin linework on Econoflex

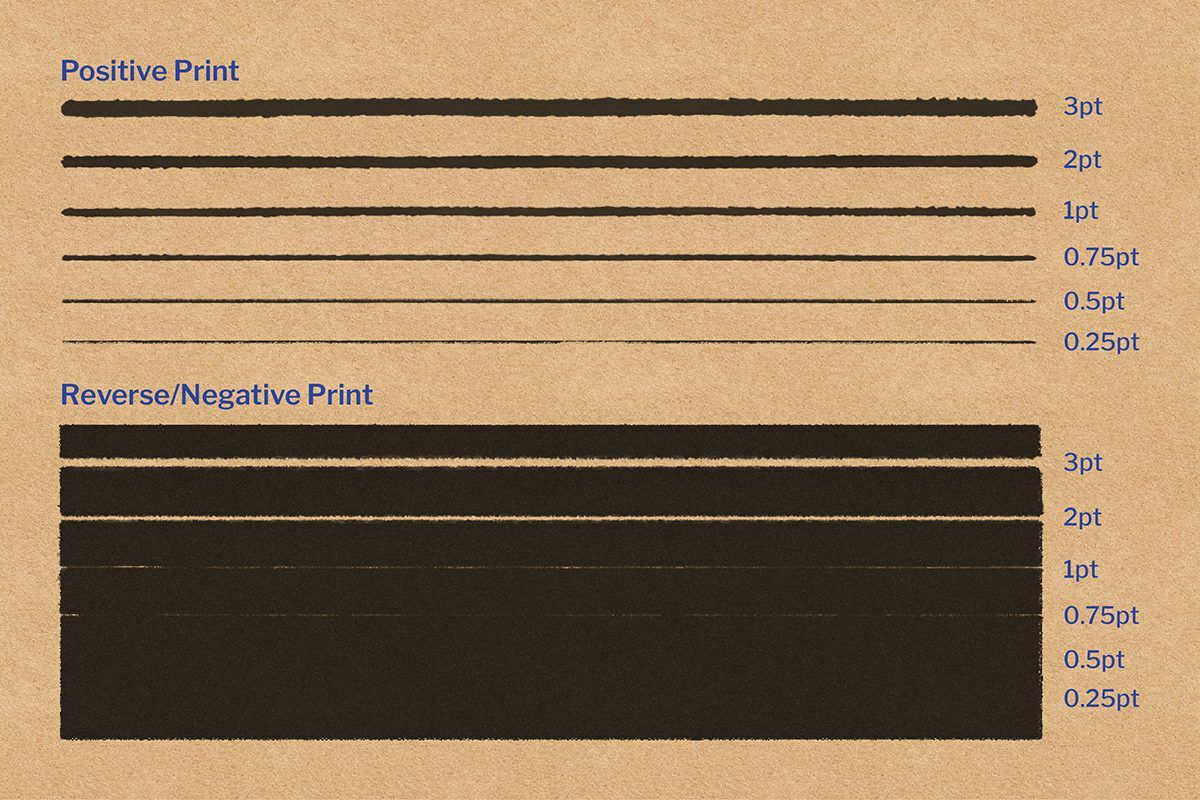
A note describing Thin linework on Econoflex will be indicated on your proof if there is line art smaller than recommended for Econoflex boxes (1pt for positive print and 2pt for reverse/negative print). Linework smaller than this may not print (positive) or could fill in when printed (reverse).
To resolve a Thin linework on Econoflex concern, you may request that we adjust the lines to meet our recommended minimums (if possible), ask us to remove the artwork, or you may send us new artwork to resolve the concern.
Read this article for information on best practices when designing for Econoflex.
Unable to add required bleeds
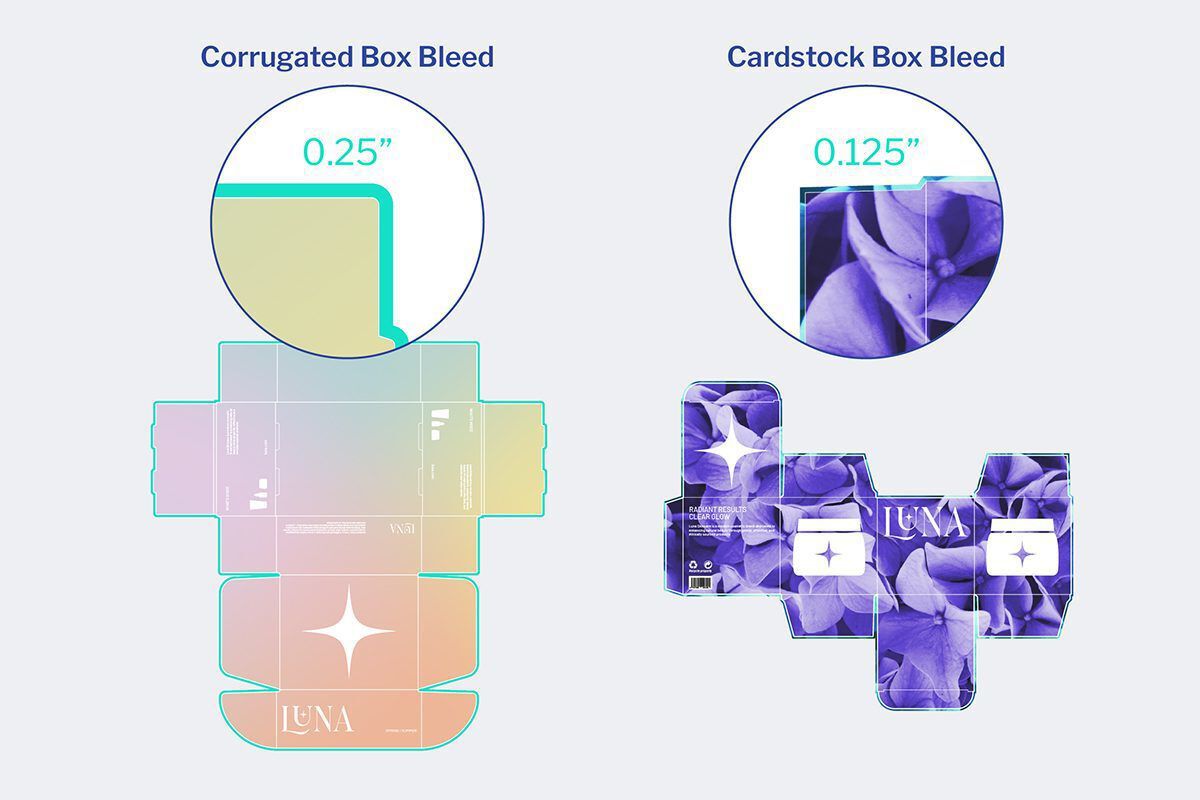
“Bleed” is the required margin around printed artwork; it extends beyond certain panels and outside the cut shape of your finished box. Any element of your artwork that is designed to be printed to the edge of certain panels must extend past the trim line and into the bleed area by a minimum of 0.125" (0.25” for corrugated boxes).
The addition of bleed helps to account for shifts that can occur during the printing and trimming process. It ensures that any content touching the edges will not leave unwanted gaps or borders.
A note saying that we are Unable to add required bleeds to your artwork means that we unfortunately cannot adjust your artwork to create the necessary bleeds for the best print result.
To resolve a concern where we are Unable to add required bleeds, send us updated artwork. If you prefer, you may approve your artwork as-is; please be advised that parts of the artwork may shift to other panels during printing, or you may see unprinted gaps where bleed is missing.
If you have questions about adding bleed or need help with your artwork, reach out to us anytime. Send us a message or reply to your proof email.
Upside-down artwork

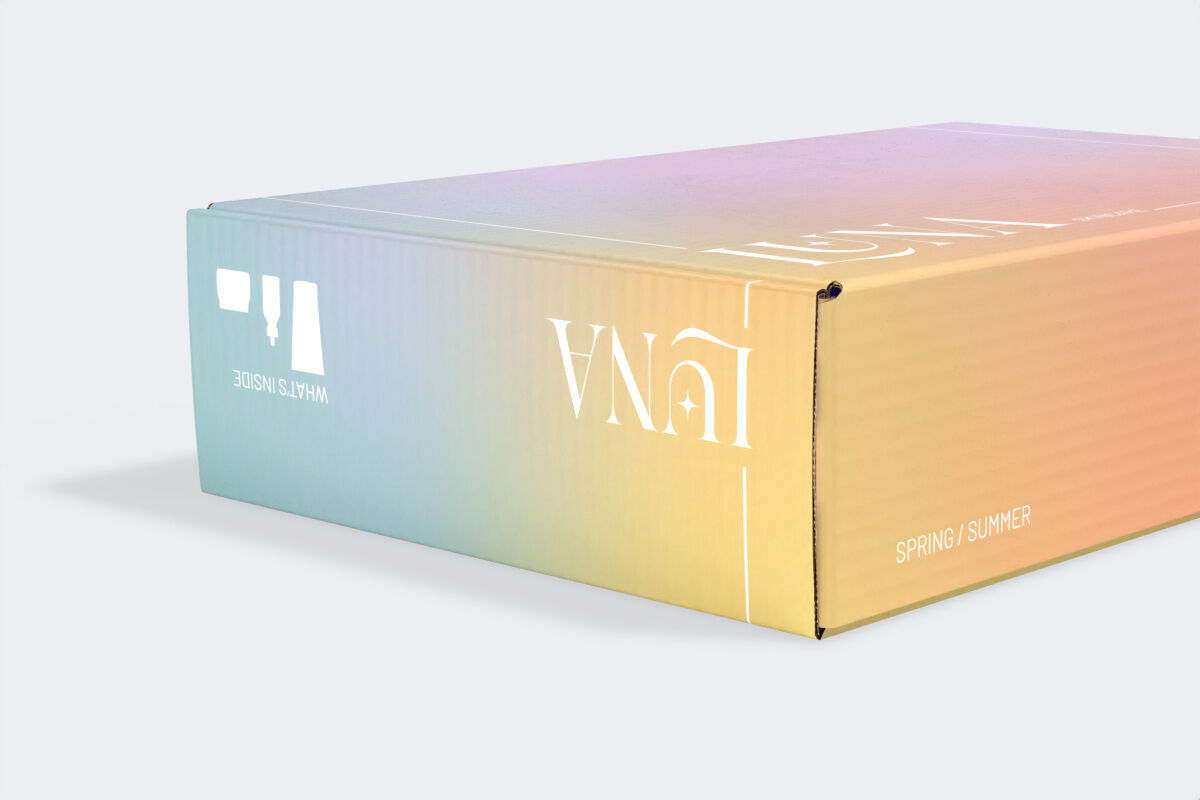
An Upside-down artwork concern will be noted on your proof when elements in your design do not match the standard reading orientation, causing them to appear upside-down once your boxes are assembled.
We recommend reviewing our printable Box Models to help ensure your artwork is printed right-side up. You can print one out, assemble it, and decide whether the artwork's orientation is how you'd like it on your box. The 3D preview of your box in our online 3D Design Tool can also help visualize the orientation of your artwork.
To resolve a concern with Upside-down artwork, you may request that we rotate the artwork to the commonly used orientation (if possible), or you may adjust the artwork yourself and resend it to us.